
Click the photo to find out more!
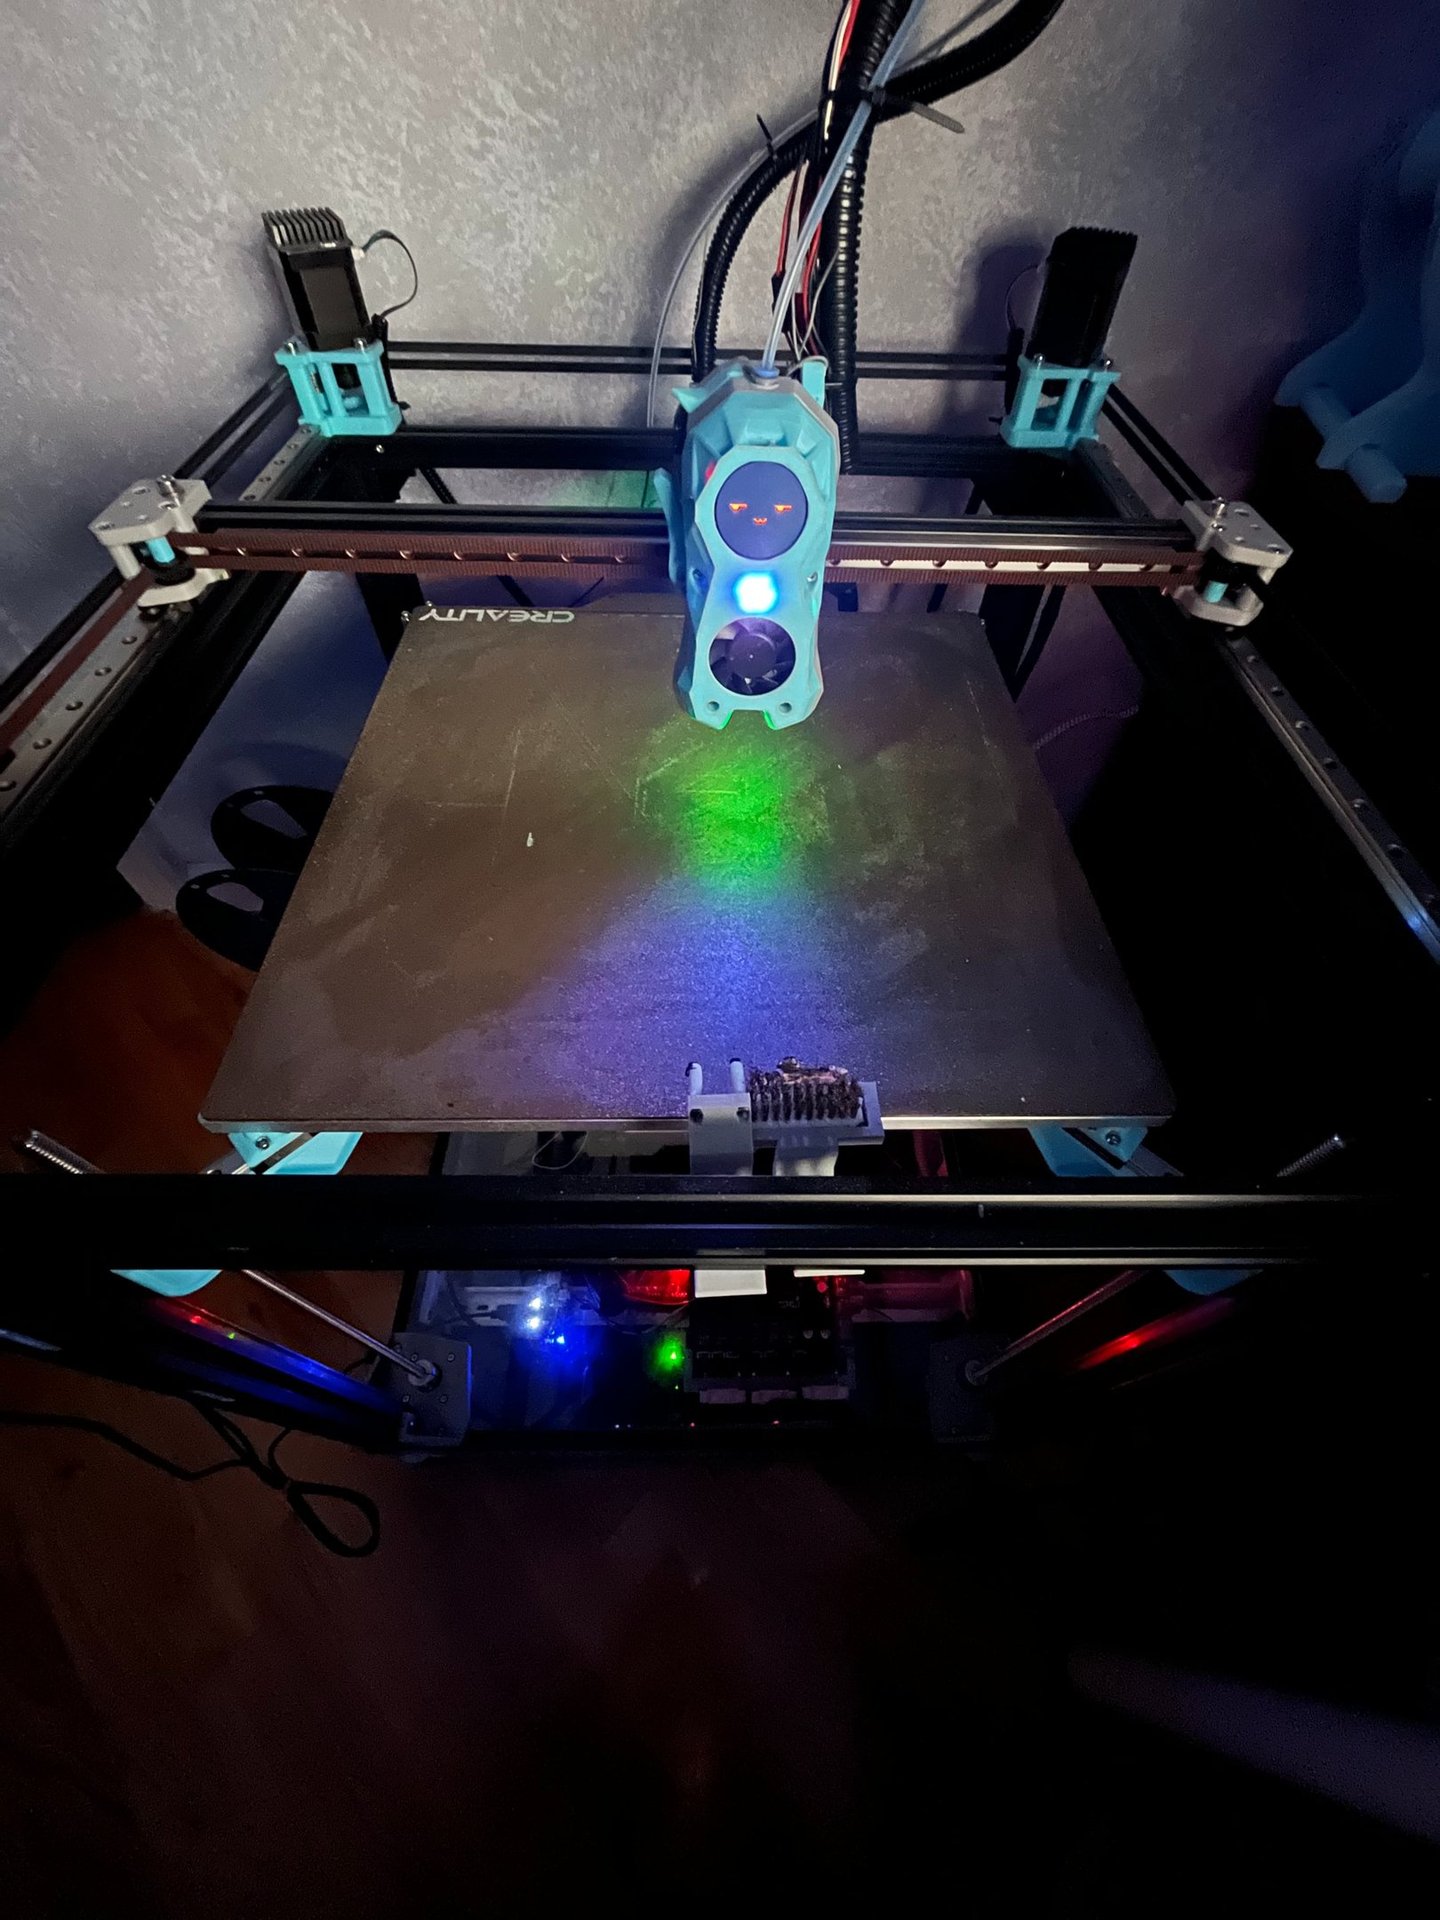
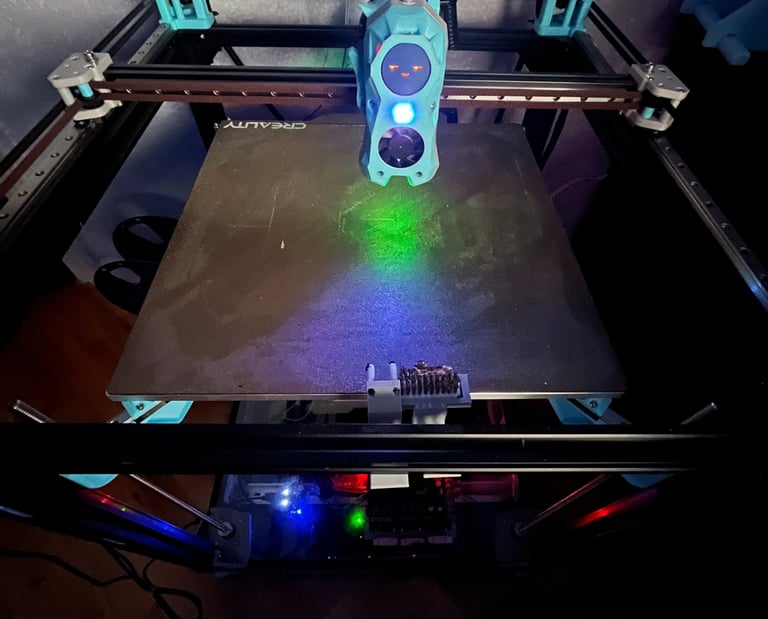
ZeroG Hydra
Result:
Still under development, but design already integrates:
Large build volume with CoreXY motion for balanced speed and accuracy.
Fully automated calibration through floating bed + Beacon probe.
Advanced toolhead sensors for reliable filament handling and multi material support.
High performance hotend/extruder combo ensuring consistent extrusion and top tier print quality.
Aims to become a flagship quality focused printer in your collection, complementing your other high speed builds.
Problem:
After building multiple printers both custom and off the shelf I needed a large build volume machine that could reliably produce high quality prints. Speed was not the focus here; the goal was a printer with advanced sensors and robust hardware to consistently output precise, strong parts.
Method:
CoreXY Motion System:
Chose CoreXY for fast, precise motion with minimal moving mass.
Two stationary motors drive X and Y axes through a belt system.
Results in lighter gantry and smoother high speed movement.
“Floating” Bed Assembly:
Designed a 3 point, independent pivoting bed mount.
Allows automatic tramming and firmware controlled bed leveling.
Essential for fully automated calibration before each print.
Electronics Bay:
Placed under the printer for compact design.
Includes: USB splitter, mainboard, PSU, SSR for bed heater.
SSR enables 110V bed heating for large build plate.
Runs Klipper firmware on Linux for flexible, high performance control.
Modernized Toolhead:
Based on Filimetrix, with extensive sensor integration.
Features:
Dual filament monitoring sensors
Filament cutter knife
Eddy current bed leveling probe (Beacon)
LED indicators + touchscreen
Phaetus Rapido hotend (high flow, rapid heating)
Clockwork 2 extruder (precise filament control)
Improves usability and diagnostic feedback.
Toolhead Sensors:
Filament monitoring: Two limit switches track runout, feeding, and cutting.
Top sensor → runout + feeding detection.
Bottom sensor → confirms cut for multi material workflows.
Beacon probe:
Magnetic/eddy current bed leveling with accelerometer function.
Provides fast, accurate meshes and nozzle based Z offset calibration.


Click the photos to find out more!
Delta 3D Printer
Effector V3:
Re mounted hotend lower to reduce center of gravity.
Extruder placed just above hotend.
Redesigned ducts to concentrate airflow at nozzle tip.
Switched to detachable probe mounted directly on nozzle for accurate calibration.
Closed Loop Stepper Motors:
Added encoders to stepper shafts → servo like behavior.
Eliminated step loss, reduced resonance, smoother motion.
Used drivers mimicking A4988 to communicate with motherboard.
Touchscreen Interface:
Added TFT35 touchscreen running Klipperscreen.
Mimics full web interface, mounted on pivoting bracket above electronics box.
Result:
Built a finished delta 3D printer capable of very fast and consistent prints.
Closed loop steppers provided reliability and accuracy.
CPAP based cooling and direct drive effector solved weight and extrusion issues.
Iterative effector designs improved calibration accuracy, stability, and part cooling.
End product is a unique, high performance delta system with a custom interface and cutting edge motion control.
Problem:
Design a high speed, high quality delta style 3D printer using closed loop steppers, a lightweight effector, and extremely strong cooling, while overcoming the complexity of delta kinematics and the challenges of weight, extrusion consistency, and airflow.
Method:
Base System:
Reused frame, PSU, and SSR bed heater from a TEVO Little Monster.
Added custom effector, closed loop Nema 17 steppers, TFT touchscreen, and belt tensioners.
Effector V1:
Tested Bowden extruder to minimize weight.
Found long filament path caused friction → inconsistent extrusion + print artifacts.
Fan ducts failed to deliver stable airflow.
Outcome: decided to move to direct drive extruder + stronger cooling solution.
CPAP Fan Cooling:
Mounted CPAP blower to printer frame.
Routed airflow via hose to ducts at effector.
Reduced effector weight and opened up more space for hotend/extruder.
Effector V2:
Fully integrated design: ducts, hotend mount, extruder mount, bed probe mount in one part.
Added direct drive extruder for consistent extrusion.
Upgraded hotend for higher flow rate + larger melt zone.
CPAP fan cooling integrated into hotend.
Issues: probe was offset → inconsistent leveling, ducts failed to concentrate airflow.
Click the photo to find out more!
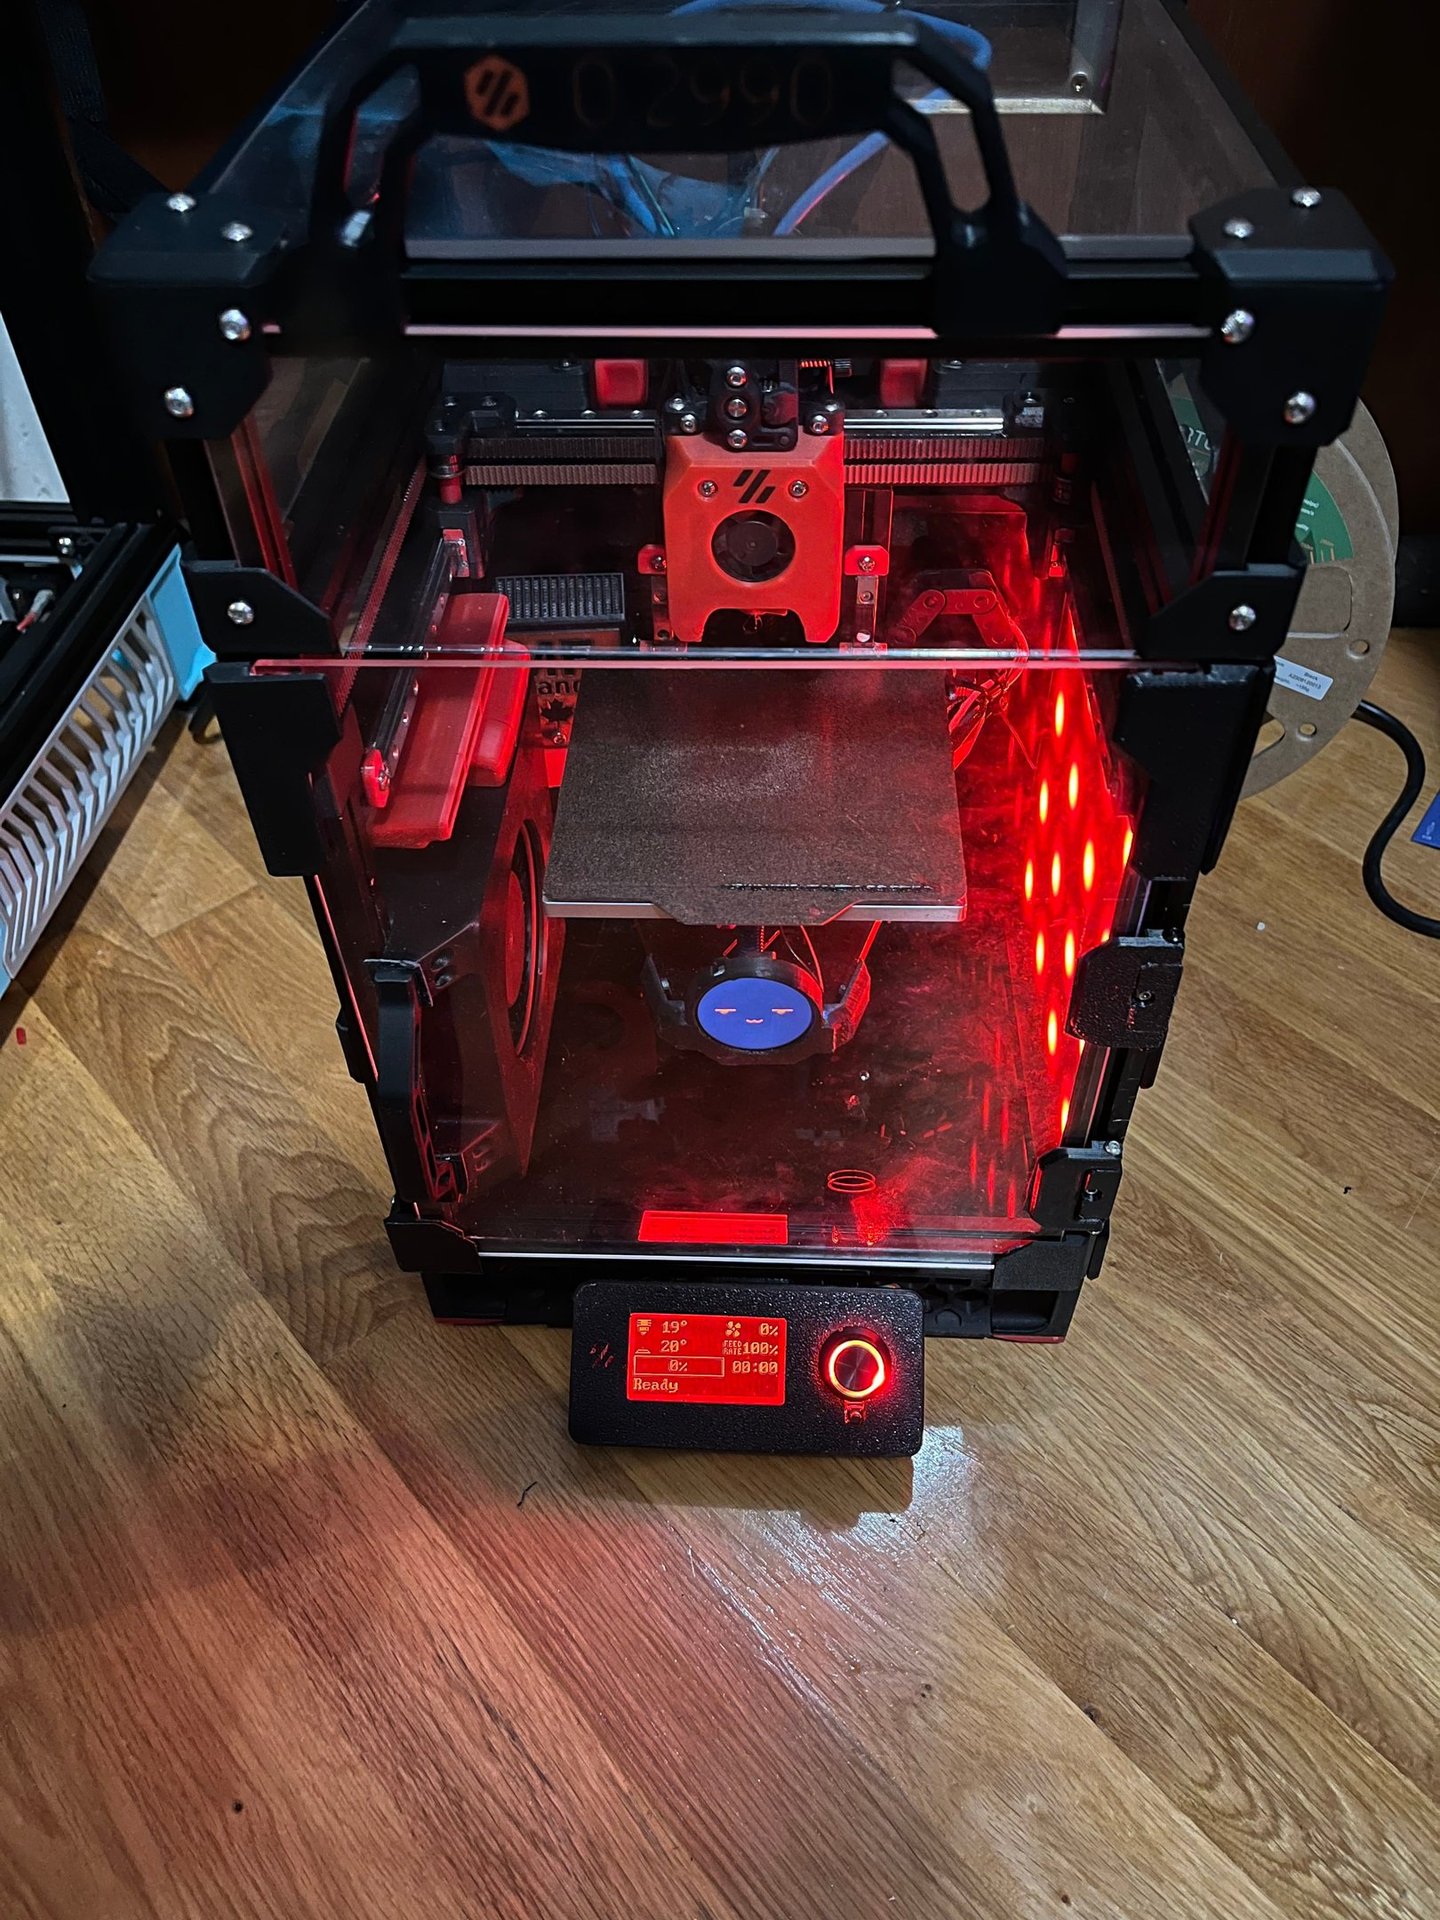
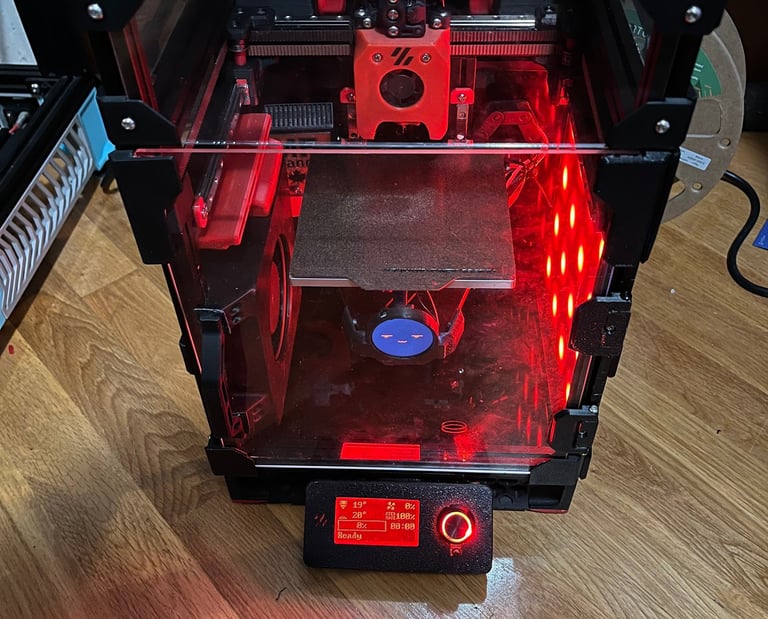
Voron V0.2990
Problem:
I wanted to build a Voron printer because of the community driven ethos: there are no official kits, only BOMs, CAD, and manuals, which means each build is unique. After completing my machine, I quickly noticed several bottlenecks and began designing modifications to push performance further.
Method:
Custom Toolhead:
Stock Voron extruder/hotend couldn’t keep up with very high speeds (225–350 mm/s printing, 650 mm/s travel).
Designed my own toolhead with:
More powerful extruder (higher current, better grip with higher gear ratio).
Hotend with larger melt zone and optimized nozzle for higher flow rate.
Entire toolhead frame 3D printed.
Result: maintained extrusion at speeds higher than motion system’s practical limits.
Auxiliary Cooling Fan:
External 12032 grill fan for additional part cooling without adding gantry weight.
Active Carbon Filter:
5015 blower pushes chamber air through carbon filter.
Removes VOCs from toxic filament printing.
Chamber Temperature Sensor:
Reused a spare thermistor.
Mounted at top of internal frame for accurate chamber temp readings.
Camera Mount & AI Integration:
Added camera feed to web interface.
Uses open source script for recording, timelapses, and auto pausing failed prints.
Filament Runout Sensor:
Encoder + limit switch to detect filament presence and extrusion rate.
Mounted on back panel above electronics bay.
Semi Custom RGB Panels & Hinges:
Replaced failed 3D printed hinges with reinforced design using longer heat set inserts.
Added protective door clips and smoked acrylic panel with RGB diffuser for camera visibility.
Copied hinge modification to back door for easier access.
Mini12864 V2.0 Screen Mount:
Replaced small stock screen with larger programmable LCD.
Designed 3D printed mount under front door.
Electronics DIN Rail Mount:
New motherboard didn’t fit stock plate.
Designed 3D printed DIN rail mounts for flexible motherboard installation inside frame.
Back Door Modification:
Built rear electronics bay door with hinges for quick access.
Integrated Noctua cooling fan and mini printed frame.
Result:
Finished Voron build exceeded typical speeds, with improved flow rate and print reliability.
Custom mods addressed airflow, thermal safety, usability, and serviceability.
The printer now combines Voron’s ethos of DIY uniqueness with a set of tailored performance upgrades, making it both a high speed and highly functional machine.