Overview
After building 2 3D printers from raw materials and using countless off-the-shelf options, I noticed I needed a reliable machine with a big build volume. When building this machine I did not want to focus on speed. The other machines I have built are extremely fast but cannot print quality parts. This machine was built to make quality parts instead. I can achieve this by the use of many sensors within the tool head. The hotend and extruder were picked due to their ability to make quality prints.
This project is still being worked on
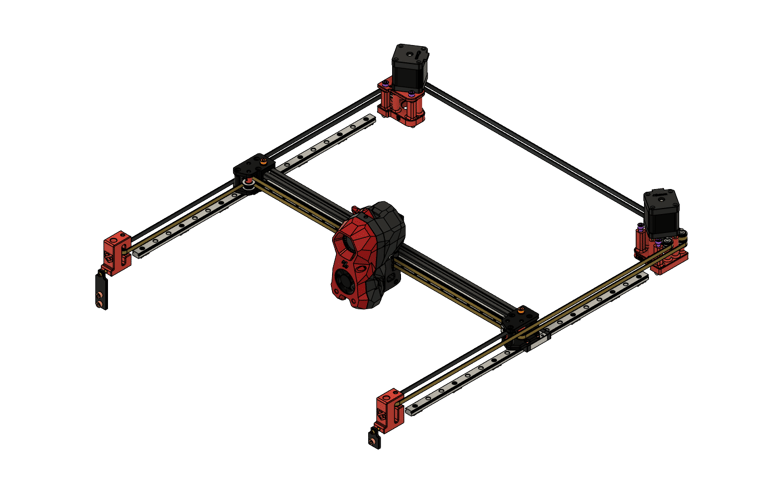
Core XY Motion System
Since reliability and speed are my top priority I decided to go for a Core XY motion system. This motion system uses 2 motors to move the X and Y axes together. This allows for faster print speeds and precise movement when the belts are tensioned properly. Unlike most motion systems the motors are always stationary leading to less mass along the Y axis. Due to this speeds on Core XY printers are much faster compared to other motion systems.
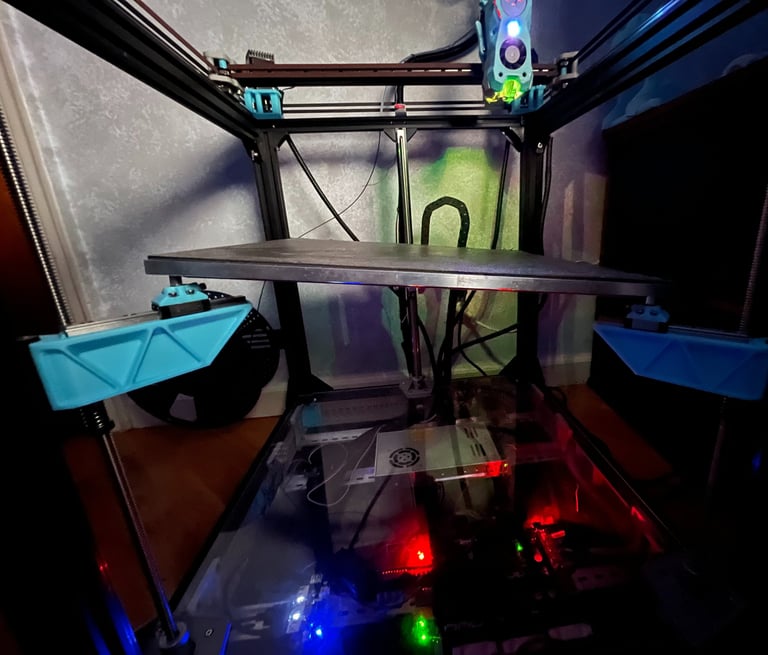
"Floating" Bed Assembly
To allow for this printer to be mostly automated having the bed pivot along 3 points is necessary. The 3 points are independent from each other which allows the firmware to zero all 3 sides automatically. This is essential to allow for the printer to do bed leveling and tramming on its own.
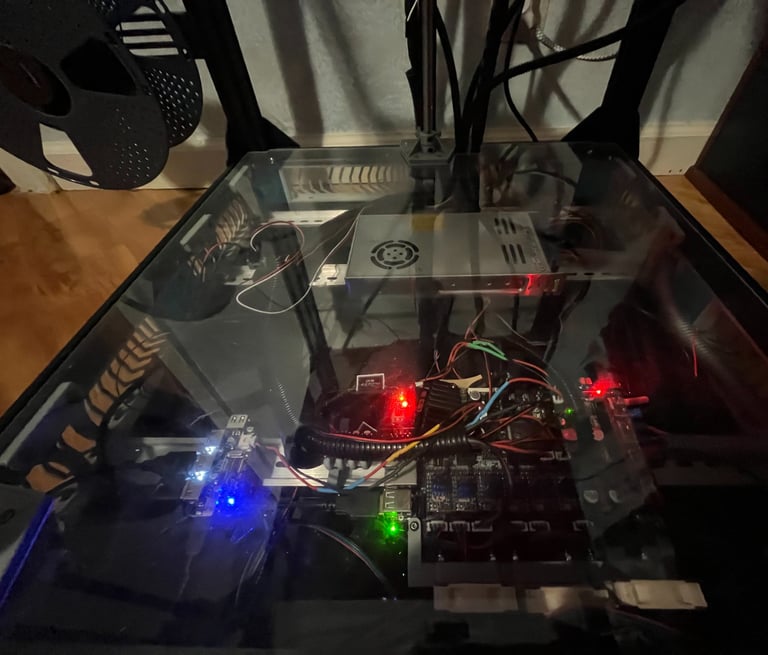
Electronics Bay
The electronics bay of this printer is directly under where it prints. It holds a USB splitter, mainboard, power supply, and SSR. All of the electronics that make this printer work properly are located within the bay and are ventilated. The mainboard controls everything on the printer by communicating with all the printer's sensors, heating elements, the USB splitter, and the SSR. The SSR is responsible for bed heating and allows for the bed to be powered with 110 volts instead of the standard 24 that the mainboard outputs. The USB splitter makes the printer able to communicate with the bed leveling sensors PCB. The power supply is a standard 24V 350W ender 3 PSU. The printer itself runs Klipper which is a variation of Linux.
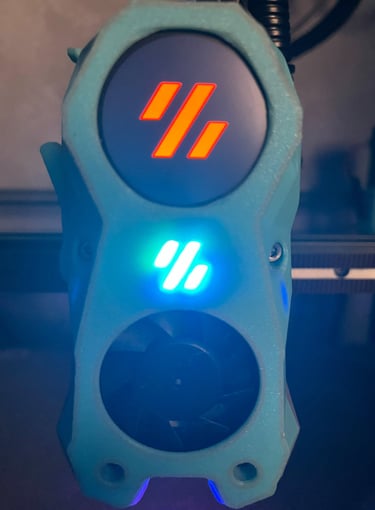
Modernized Toolhead
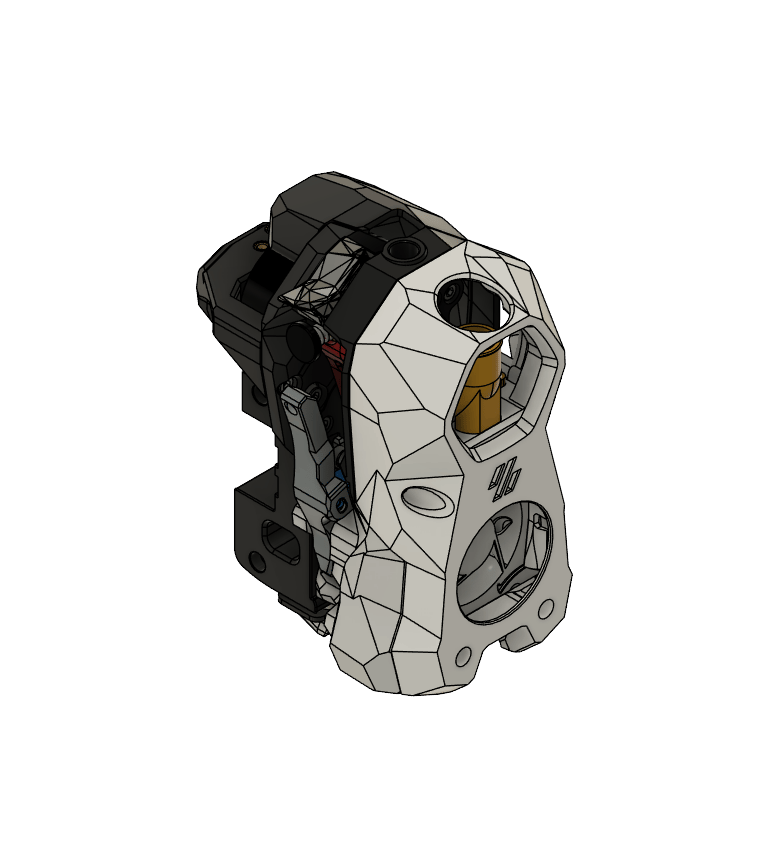
The tool head I am using for this printer is based on the Filimetrix. This tool head has 2 sensors and a knife for filament monitoring and cutting, an eddy current bed leveling system, LED lights, and a touch screen along with the standard blower fans, hotend, and extruder. The filament sensors allow the printer to know if the filament is passing through the tool head and where the filament is when inside of it. The bed leveling sensor allows for the printer to scan the bed along with nozzle probing for a perfect z-offset, the LEDs and Touchscreen display messages about print progress. All of these features improve the ease of use when operating this printer. The hotend is a Phaetus Rapido and the extruder is a Clockwork 2.
Toolhead Sensors
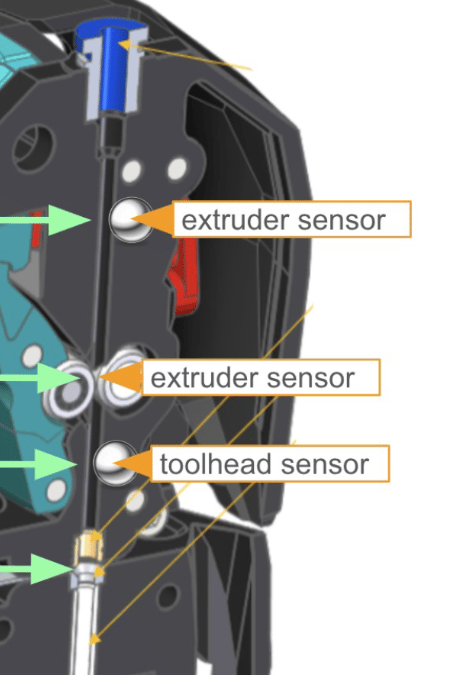
The sensors I utilize on the printhead are 2 filament monitoring sensors consisting of limit switches and a bed leveling sensor. The 2 limit switches that are used for filament monitoring work together to ensure that filament is being fed into the hotend and isn't snapped. The first sensor is at the top of the extruder and is the one that is used as a general runout sensor. It is configured to always pause prints when it does not detect filament. It can also be configured to detect if the filament is attempting to be fed into the extruder, meaning multi-material printing can be done. The second sensor is below the extruder and filament cutter. This sensor is not used when normal printing occurs but it is enabled when multi-material printing is being done. It allows the printer to know that the filament was successfully cut since this sensor will sense filament while the other sensor won't when fully retracted.
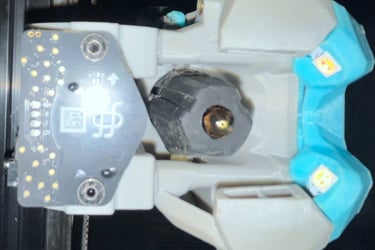
The other sensor I use is a beacon sensor. This sensor is used primarily for bed leveling but doubles as an accelerometer. The sensor uses magnetic fields to detect the distance from the bed through the use of eddy currents. This means I can get very fast bed meshes while maintaining high accuracy. On top of this, I can use the nozzle to find the printer's zero position when printing the first layer and when finding the zero position of the 3 points on the bed.


