Overview
Ever since I began researching 3D printing during my sophomore year of high school I always wanted to build a Voron 3D printer. These machines always intrigued me due to the "ethos" of the organization that creates them. Each machine built is unique because there is no kit. The individual building the machine needs to source all of the parts from a bill of materials and build the machine based on CAD renderings and a manual. After finishing the machine I quickly noticed some bottlenecks within the system. Due to them, I have added modifications to the machines (most of which I have created). They are displayed below.
This project is finished
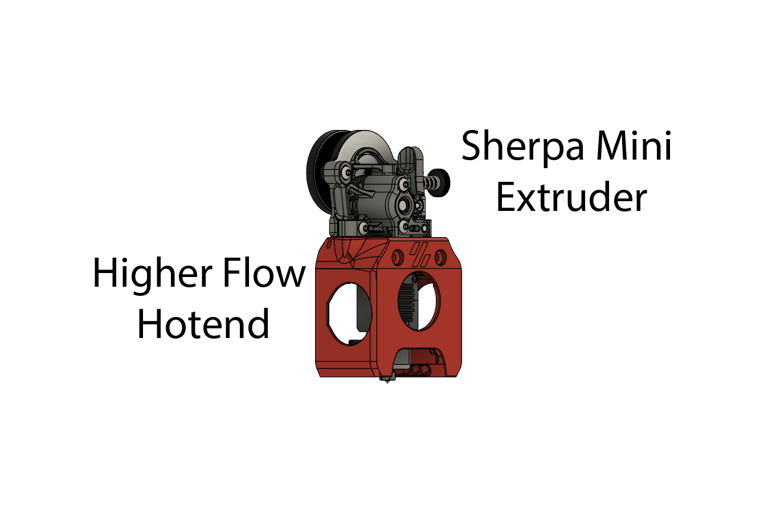
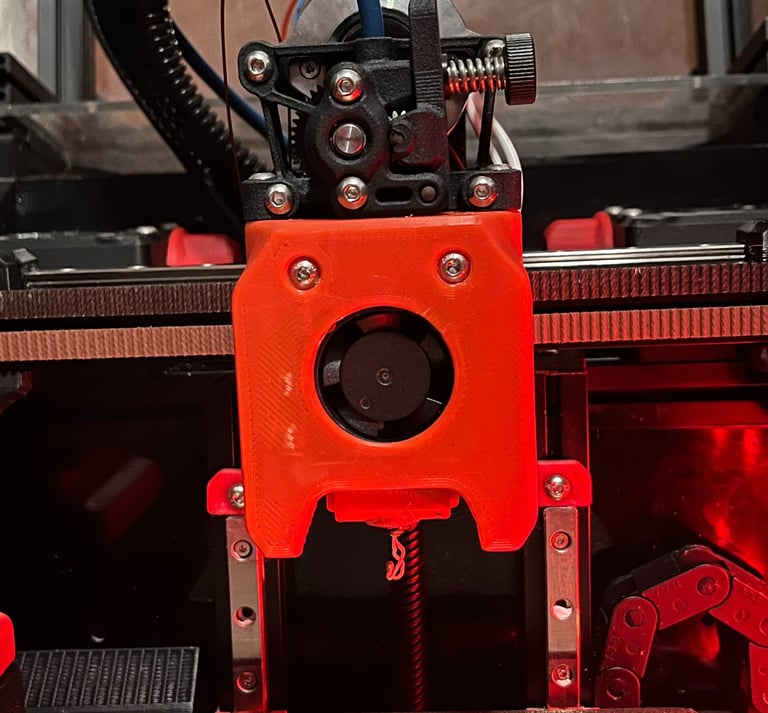
Custom Toolhead
Due to the motion system of this printer being created for speed, the velocity of this printer can be extremely high compared to most other machines. The average 3D printer can move at around 50-100mm/s when printing with a maximum travel movement of around 300mm/s without any issues. However, on my machine, I was able to reach around 225-350mm/s printing speed and a maximum of 650mm/s travel movements without any issues. Even though I can move this machine extremely fast the plastic that melts to create a part was not melting fast enough causing clogs. To combat this I created a tool head using a different extruder than the standard Voron extruder and a different hotend with a larger melt zone. These 2 additions allowed me to print at these speeds without any issues. The better extruder allowed me to push the filament into the hotend quickly due to the ability to supply more amps to the stepper motor without it getting extremely hot. On top of this the increase in gear ratio allowed for better grip on the filament. The better hotend allowed for an increase in flow rate (the rate at which the molten plastic gets extruded) through the use of a bigger heat zone, with a nozzle that expands the contact surface of the nozzle internally while also having a bigger hole for the filament to flow out of. These 3 factors combined allow for a major increase in flow rates. This increase enables me to lay down layers at speeds higher than this printer can achieve without any upgrades to the motion system. The tool heads frame is completely 3D printed.
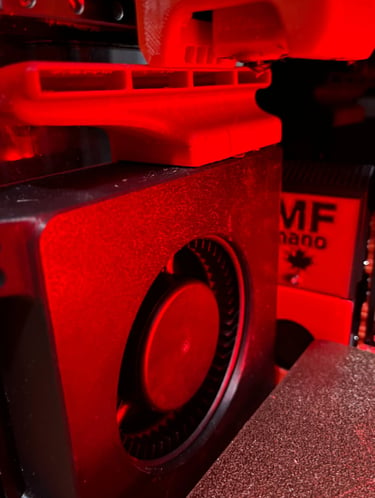
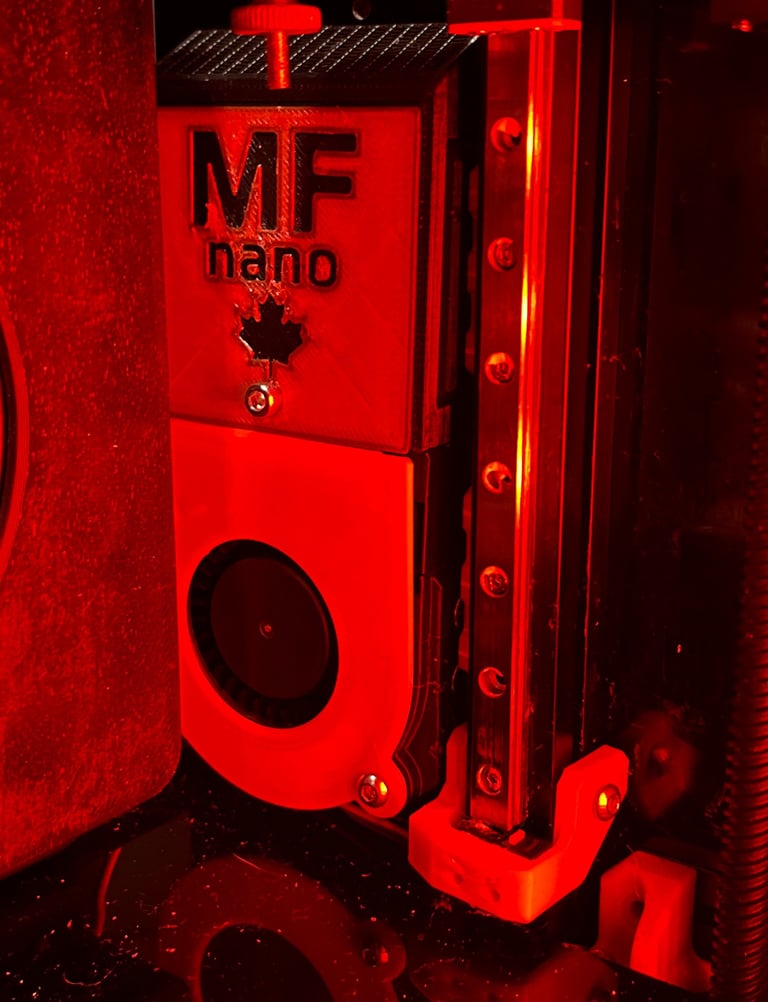
Auxiliary cooling fan
The auxiliary cooling fan on this printer allows for extra part cooling without adding weight to the gantry. This can allow me to use a lighter tool head since I will not need to add bigger heavier fans onto it to direct cool air to the print. The fan used is a 12032 grill fan.
Active Carbon Filter
The carbon filter on this printer allows for the VOCs expelled from toxic filaments to bind with the carbon inside of this filter. It uses a 5015 blower fan to direct the toxic air within the chamber to be cleaned.
Chamber Temperature Sensor
Since I had a spare thermistor from the previous hotend I used, I designed a mount for the thermistor to sit on the top of the internal frame of the printer allowing for accurate readings of the chamber temperature.
Camera Mount & AI Integration
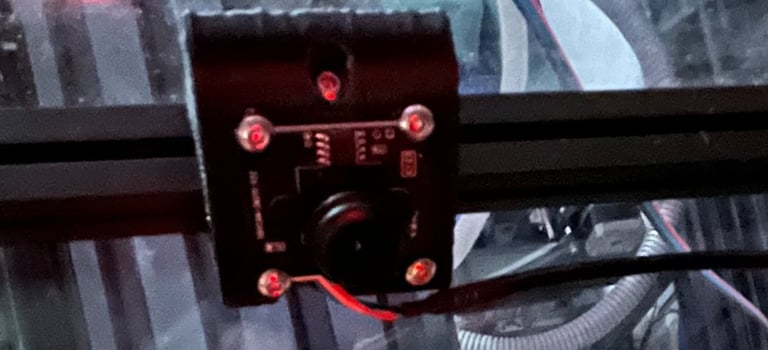
Since I am unable to babysit my printer constantly, I decided to add a camera to the machine. Within the web interface of the machine, I added a section for the camera stream to allow me to actively view my prints. With this camera, I can use an open-source script to allow the printer to record prints, take time-lapses, pictures, and pause active prints automatically if it fails.
Filament Runout Sensor
To prevent user error when assuming the amount of filament in a spool needed for a print, a filament runout sensor allows the printer to let itself know when more filament is needed to complete a print. The runout sensor I am using is pre-made but allows the machine to know if the filament is feeding into the extruder properly and if there is filament in the sensor through the use of an encoder and a limit switch. These 2 sensors allow me to write code to tell the printer whether filament is in the machine and if it's extruding at the expected rate. This sensor is mounted on the back of the printer on top of the printers back door.
Semi-Custom RGB Panels and hinges.
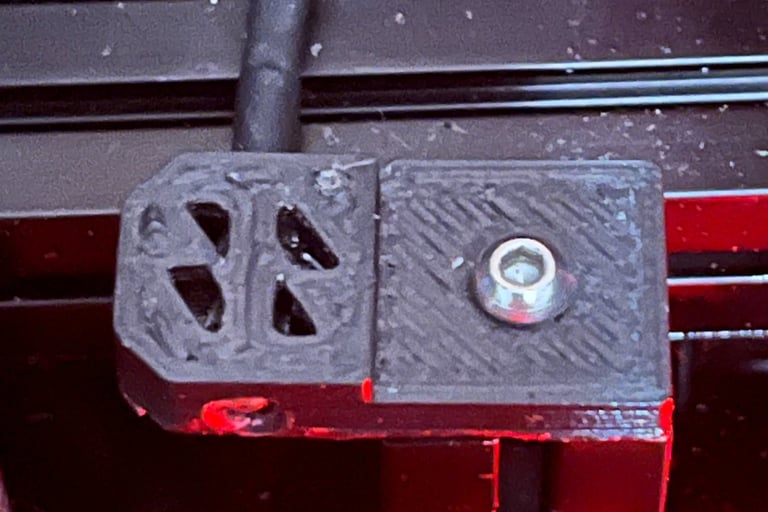
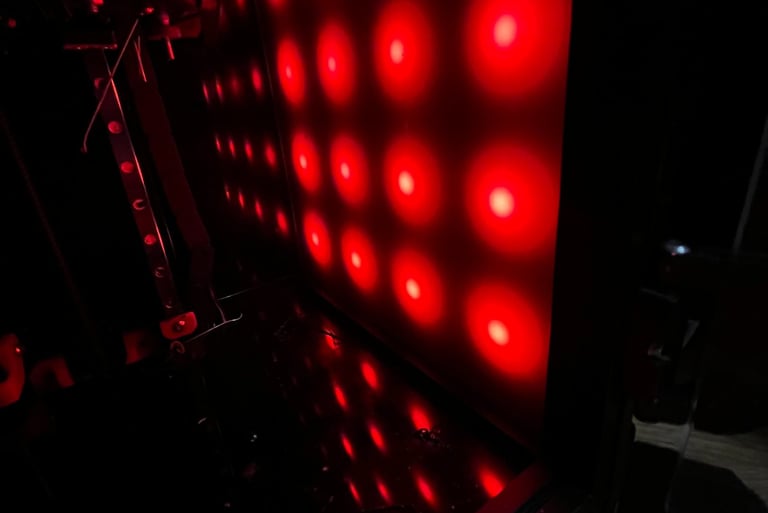
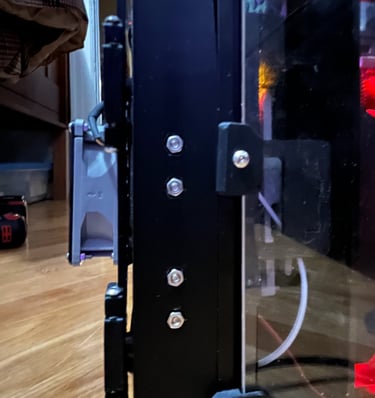
After ~200 print hours, the 3D-printed hinges on the front door of the machine snapped. Due to this, I modified a design created by Leiwandizer by making bigger internal holes for longer m3 heat-set inserts. These hinges allow for the bolt to be the pivot point of the hinge instead of being what rotates. On top of using different door hinges, I created clips to go on the edges of the new doors to cover the sharp edges of the panels. This same modification was copied on the back of the machine to allow for easy access to the electronics panel. While doing this upgrade I replaced one of my side panels with a smoked acrylic panel with an RGB panel behind it to diffuse the light. This modification allows the chamber of the printer to be visible through the camera.
Mini12864 V2.0 Screen Mount
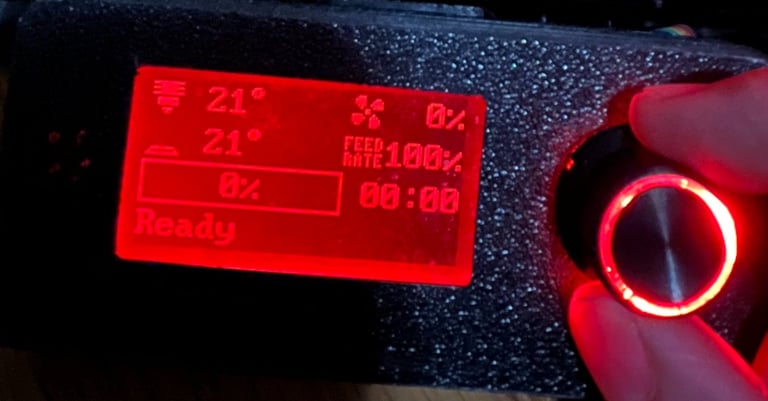
Due to the original screen of the printer being extremely small and difficult to use, I wanted to switch to a programmable, bigger screen. The Mini12864 LCD screen fits the form factor of the machine and includes a bigger screen. Due to this, I created a mount for the screen on the bottom of the machine under the front door. This mount is completely 3D printed.
Electronics Din Rail Mount
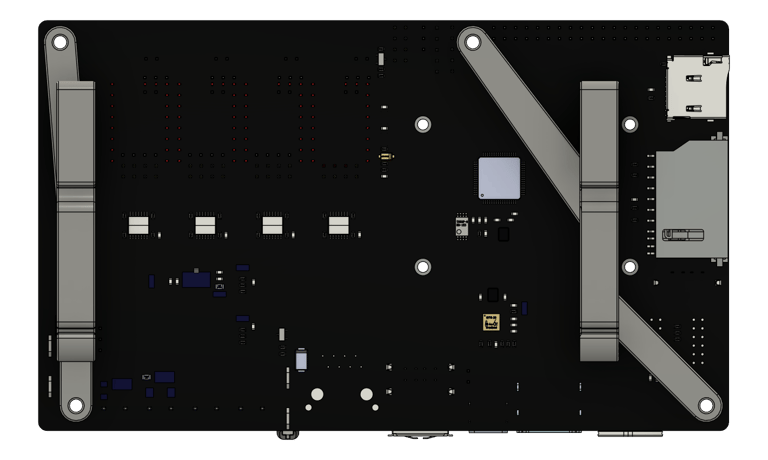
The new motherboard I ordered for the machine was not the same form factor as the old one. Due to this, the holes on the acrylic plate used for mounting the old motherboard are not compatible with the new one. This led me to create a din rail mount for the new motherboard which let me bolt the rail itself into the frame of the printer using a 3D printed mount between the back 2 extrusions. The motherboard slots into the rail through the use of a 3D-printed mount bolted into the motherboard itself.
Back Door
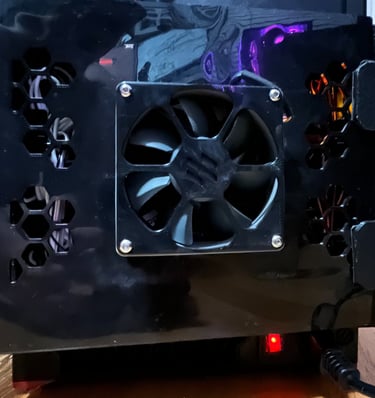
Due to my constant tampering with this machine, I decided to make a backdoor to allow me to open the electronics bay instead of unbolting the whole system. This back door includes a Noctua fan for motherboard cooling, a mini 3d printed frame, and the door itself with its hinges.

