
CyberDeck
Click the photo to find out more!

Problem:
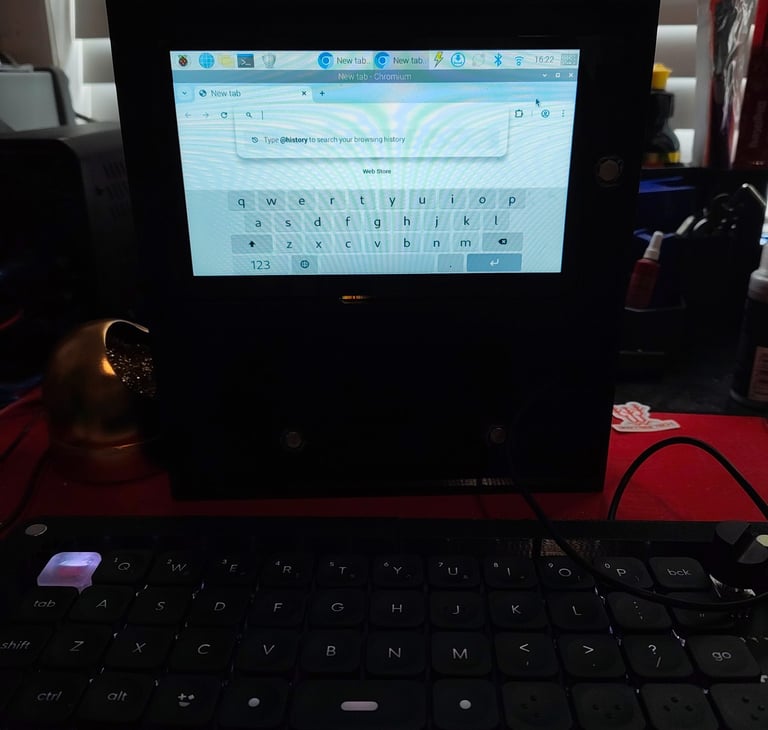
I had an extra Raspberry Pi 5 and wanted to turn it into a portable handheld system, so I could build a compact, modular cyberdeck with a screen, battery, and expandability.
Method:
Used a Raspberry Pi 5 as the main computing unit
Added a 5 inch touchscreen as the primary display interface
Designed and fully 3D printed a custom enclosure to house all components
Integrated a built in battery pack for portable, standalone power
Embedded magnets throughout the chassis to allow snap on modular accessories
Organized internal layout to keep wiring compact and the build durable
Result:
Successfully built a fully portable cyberdeck powered by a Raspberry Pi 5
Achieved a compact all in one handheld workstation design
Enabled modular expansion through magnetic accessory attachment
Created a durable and functional 3D printed enclosure for real world use
Keyboard
Click the photo to find out more!
Problem:
I had an extra keyboard PCB and wanted to repurpose it, so I designed a custom enclosure that could turn it into a usable standalone keyboard with expandability.
Method:
Used the spare keyboard PCB as the core input system
Designed and 3D printed a custom enclosure to mount and protect the PCB
Added precise cutouts for switches and connectors for proper alignment
Integrated magnets into the case to allow modular attachments
Structured the internal layout to keep the PCB stable and prevent flexing
Optimized the design for comfortable, practical typing use
Result:
Successfully converted the PCB into a functional standalone keyboard
Created a durable, fully enclosed design with a clean fit
Added magnetic expandability for snap-on accessories and attachments
Improved usability, structure, and overall build quality for daily use